

How to Hold Drumsticks: A Beginner's Guide to Grip
Published
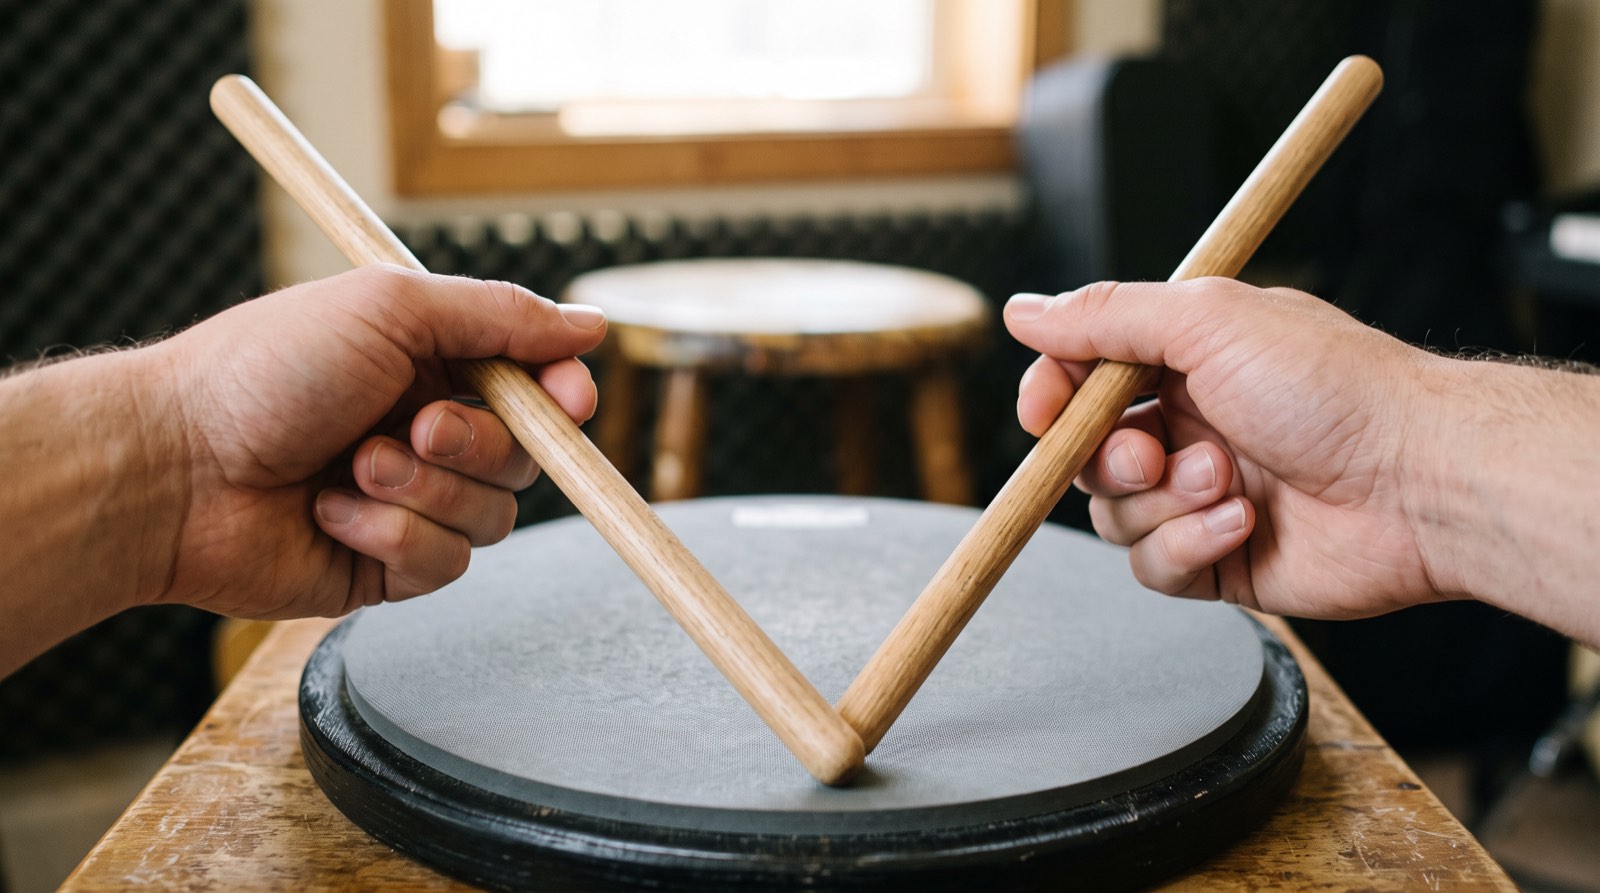
How you hold the sticks shapes everything you play on the drums. A relaxed grip lets the stick bounce off the drum and do half the work for you. A tight grip makes every stroke harder, tires the hands quickly and can lead to aches. A solid grip takes only a few minutes to learn and a few weeks to feel natural.
Matched grip: the place to start
Most drummers today use matched grip, which simply means both hands hold the sticks the same way. It is the easiest grip to learn and works for every style of music. (You may also see traditional grip, where the left hand holds the stick differently. It comes from marching drums and jazz, and beginners can safely leave it for later.)
Step by step
- Let your arms hang loosely by your sides, then bring your hands up in front of you without changing their relaxed shape. That is the hand shape you want to keep.
- Find the pivot point. Hold the stick between your thumb and index finger about a third of the way up from the end you hold. This point, called the fulcrum, is where the stick balances and pivots.
- Test it. Let the stick drop onto a practice pad from a few inches up while you hold it at the fulcrum. Slide your grip up or down a little until the stick bounces back the most. That is your spot.
- Wrap the other fingers loosely around the stick. They guide it but do not squeeze. You should be able to see a little space between the stick and your palm.
- Turn your palms toward the floor at a slight angle. The sticks should form a relaxed V shape in front of you.
Three ways to angle your hands
Matched grip has three common variations. They differ only in how far you turn your hands.
- American grip: palms angled about halfway between facing down and facing each other. The most common starting point, and a good all-round grip.
- German grip: palms facing almost straight down. It uses more wrist and suits loud, powerful playing.
- French grip: palms facing each other, thumbs on top. It uses more fingers and suits quiet, fast, delicate playing, especially on cymbals.
Most drummers move between them without thinking. Start with American grip.
Let the stick bounce
The most important idea in drumming technique is rebound. Throw the stick at the drum and let it bounce back up, instead of pushing it into the head and pulling it out. Practice single strokes on a pad: lift, drop, let it bounce, catch it at the top. It should feel like dribbling a ball, not hammering a nail.
Common beginner mistakes
- Squeezing too hard. White knuckles mean a tense grip. Loosen up until the stick can bounce.
- Holding the stick too close to the end. It feels powerful but kills the bounce.
- Using only the arms. Strokes come mostly from the wrist, with the arm and fingers helping.
- Different grips in each hand. Check in a mirror that both hands look the same.
Which sticks to use
5A sticks suit most beginners. Younger children with smaller hands often find lighter 7A or junior sticks easier to control. Our guide to a first drum lesson covers the rest of what to bring.
Drum lessons in Denver
Grip is far easier to fix in the first few weeks than after a year of habits, which is why a teacher's eye helps so much early on. Music 4 Humans drum teachers teach kids, teens and adults at our recording studio in southwest Denver and online.
Tell us about your child and we will match you with a drum teacher, or browse our drum teachers.
Common questions
My hands hurt after practicing. Is my grip wrong? Often it is. Sore hands usually mean squeezing too hard. Loosen the grip, let the stick bounce, and keep sessions short at first. Our older post on avoiding drumming injuries has more on staying comfortable.
Should beginners learn traditional grip? Not at first. Matched grip covers every style, and traditional grip can be learned later if your child gets into jazz or marching drums.